If you haven’t read part 1 yet, you should definitely start by reading it HERE.
My gardening mentor and I made our first trip to the garden store on April 10th. I had brought a few things from the U.S.—seeds, obviously, but also some small hand tools, a rake and hoe, and two beautiful blue pots. The dirt, trays and pots all needed to be purchased locally. We had no problem finding the items we needed and while the prices weren’t dirt cheap (ha ha) like India, they weren’t horrible either.
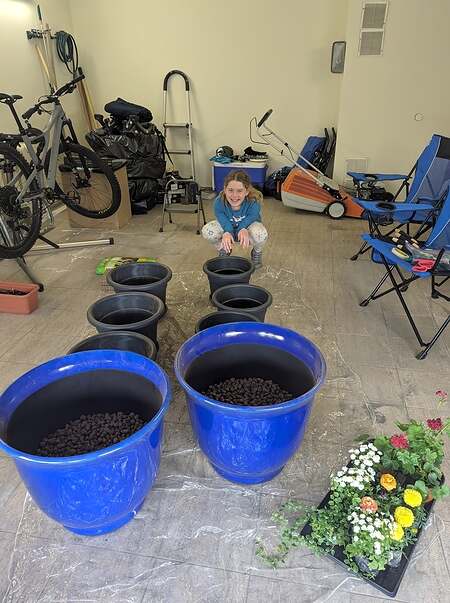
On our designated potting day, April 14th, Nia and I planted for four hours straight with our gardening mentor. The first order of business was to fill the blue pots, one of which was going in the backyard, and the other by the front door.
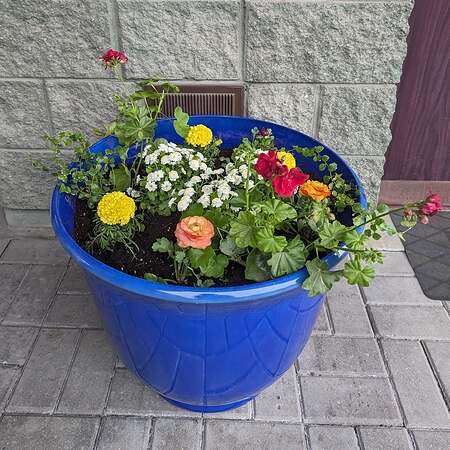
I wanted to enjoy the front pot immediately, so we opted for pre-grown flowers vs starting from seed. Here’s how it turned out:
Nia was my trusty gardening assistant for all of planting day and showed impressive stamina! She really gets in to this stuff. Much different than my childhood self who had many opportunities to help my parents in the garden but wanted nothing to do with it. Oh how I am wishing now that I’d learned more from them when I had the chance. Oh well….hindsight 20/20, right?
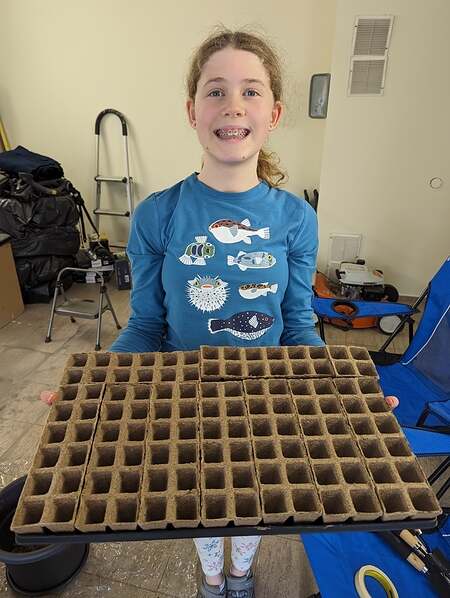
When the day was wrapped—after another two hours of evening planting—we ended up with all this + the two blue pots.
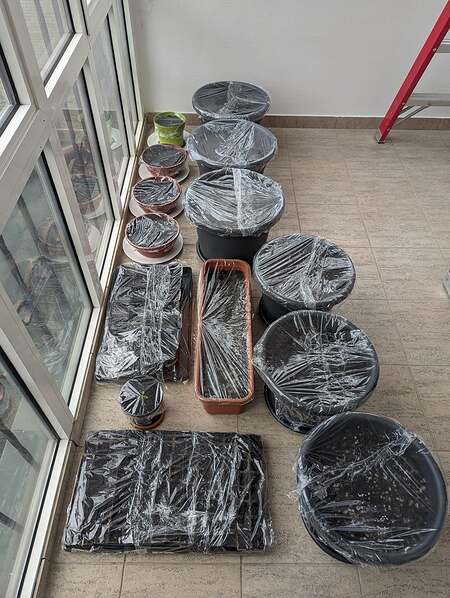
We used the sunroom off our bedroom ensure they got lots of light as they were sprouting. We watered them heavily at first, then covered them all with plastic until they popped through. The key was to keep the soil moist, but not too wet. Very tricky! They were also quite fragile, so once they were potted, I tended to mist them with a spray bottle rather than pouring from a watering can because a flow of water would knock them over. I have to say, it was quite thrilling watching them grow. Each morning, Nia and I would bolt out of bed and run to the sunroom to see what had ‘popped’ overnight. I loved noticing the miniscule changes from day to day. Here’s what they looked like after three weeks of growth:
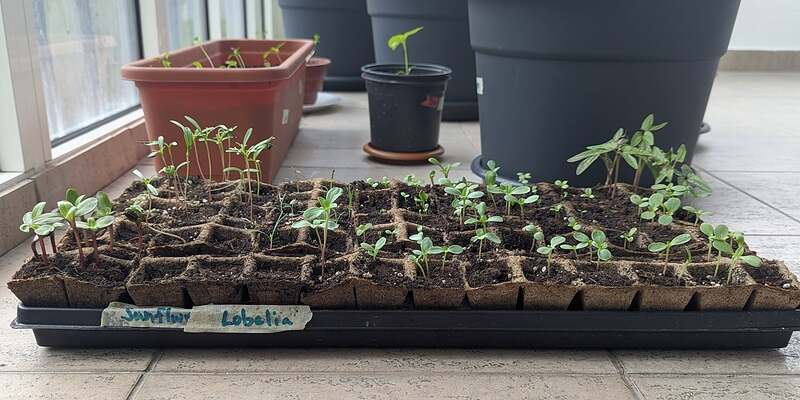
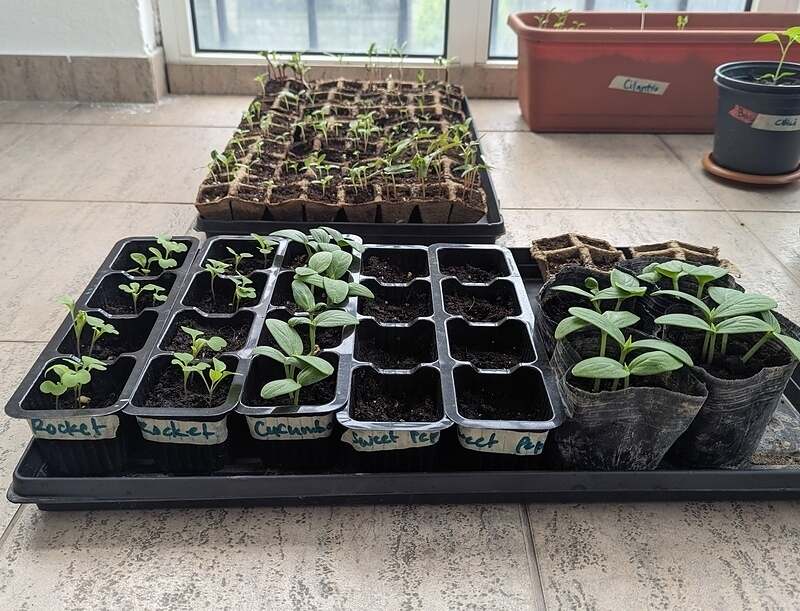
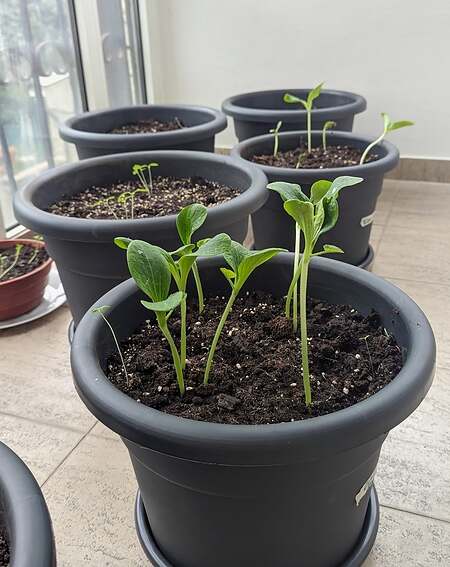
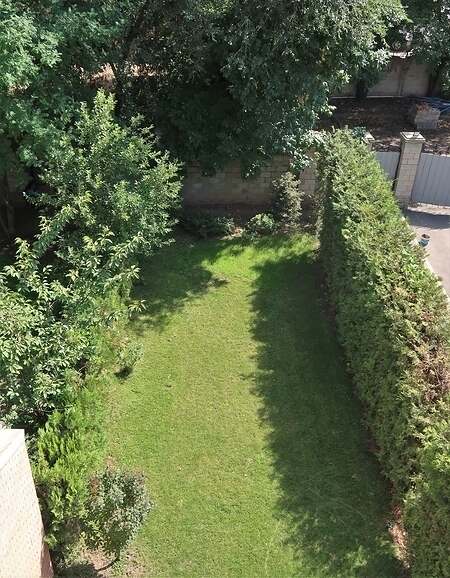
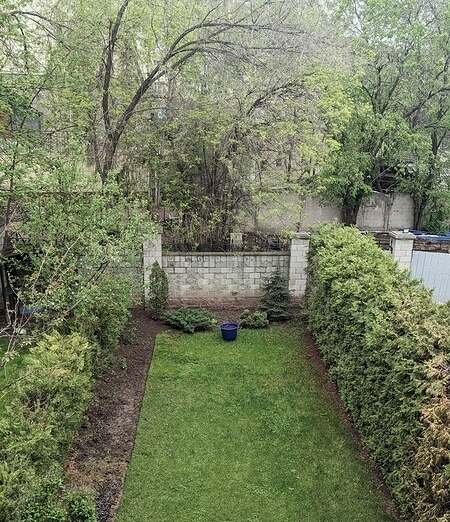
And here’s a before and after of the backyard. The best light was along the left wall, so we decided the garden would go there. Here’s what it looked like last fall when we moved in:
And here’s what it looks like after we dug out the garden:
Here’s the thing. It sounds easy, and yet, it was a ridiculous amount of work. The sod was very hard-packed into the ground, so we had to step on a big shovel 4 times to create a 9 inch by 9 inch square, which we then had to get under and flip. Repeat that 200 times and we had a garden. Why the flip? Because we needed the grass to die. But even after the flip, it still needed to be hoed, raked and weeded. I seriously underestimated how much work this would be.
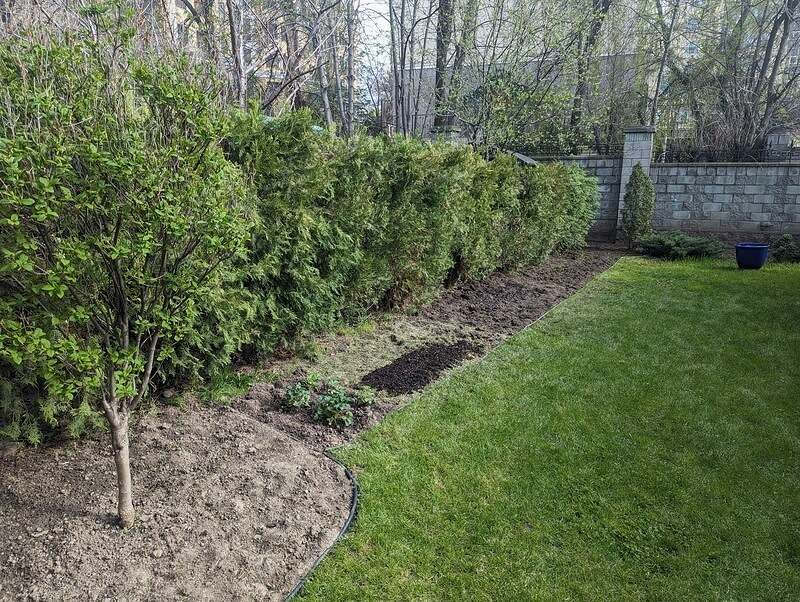
I am pretty proud of it though. Please make sure and notice the edging that we put in. The garden will have lettuce, strawberries, parsley, mint, rosemary, basil, cilantro, bell peppers, peas, and cucumbers. The tomatoes and two types of zucchini will stay up in the sun room for the entire time. I’ll do a third post in a few weeks to show you how it looks once it’s matured a bit. As of today, all the vegetables have been transplanted into the garden and I’m about 50% done with transplanting flowers. Rest assured that there will be more garden updates. :)
